Wednesday, October 26, 2011

Outdoor Transformations

Yesterday we painted the carport with Concrete/Garage paint and it looks awesome.  This color is called Rich Brown by Behr.  Only $30 and the result is well worth it.  Here's the before and after:


Today we stained and sealed the back deck - quite an improvement.  You can see the sealed wood beams (to the left) and the dry unsealed beams (to the right) :


And we also trimmed out and painted the back doors with a creamy paint.  This color is Natural Linen, available at Lowes.


Our kitchen granite arrives on Monday!...

Monday, October 24, 2011

Our Appliances Arrived Today!

Today we received our appliance order from Sears Outlet!  What a difference new appliances (and, well, new everything) can make.  Here's the kitchen progress...


Tomorrow we're going to try to finish the floating floor in the spare bedrooms as well as hookup the kitchen appliances.

Tomorrow we're also having the kitchen countertops measured for new granite!  I picked out a great slab at the stone yard today for an awesome price, but you'll have to check back soon to see how it all comes together...

Saturday, October 22, 2011

The House Gets a Facelift!

We have been so busy at the house that I haven't had any time to create new blog posts, so here's the latest over the last three days:

We finished laying the tile in the kitchen.  Here's proof that I did it - here I'm mixing the mortar using the powerdrill and paddle attachment.  It got a little messy (and funny) but I did it!!


We painted the exterior of the house!!  This shade is Gaucho (by Colorplace, available at Walmart).  Quite a difference from the peachy-pink and salmon colors it was originally.  Don't worry, we're having the windows replaced so it's OK that we got a little paint on them...  Here's the before and after:


We grouted the kitchen tiles.  David was such a good sport because he had to go back behind me after I placed the tiles and he used a hammer and screwdriver to chisel out the excess mortar to prepare for the grout...


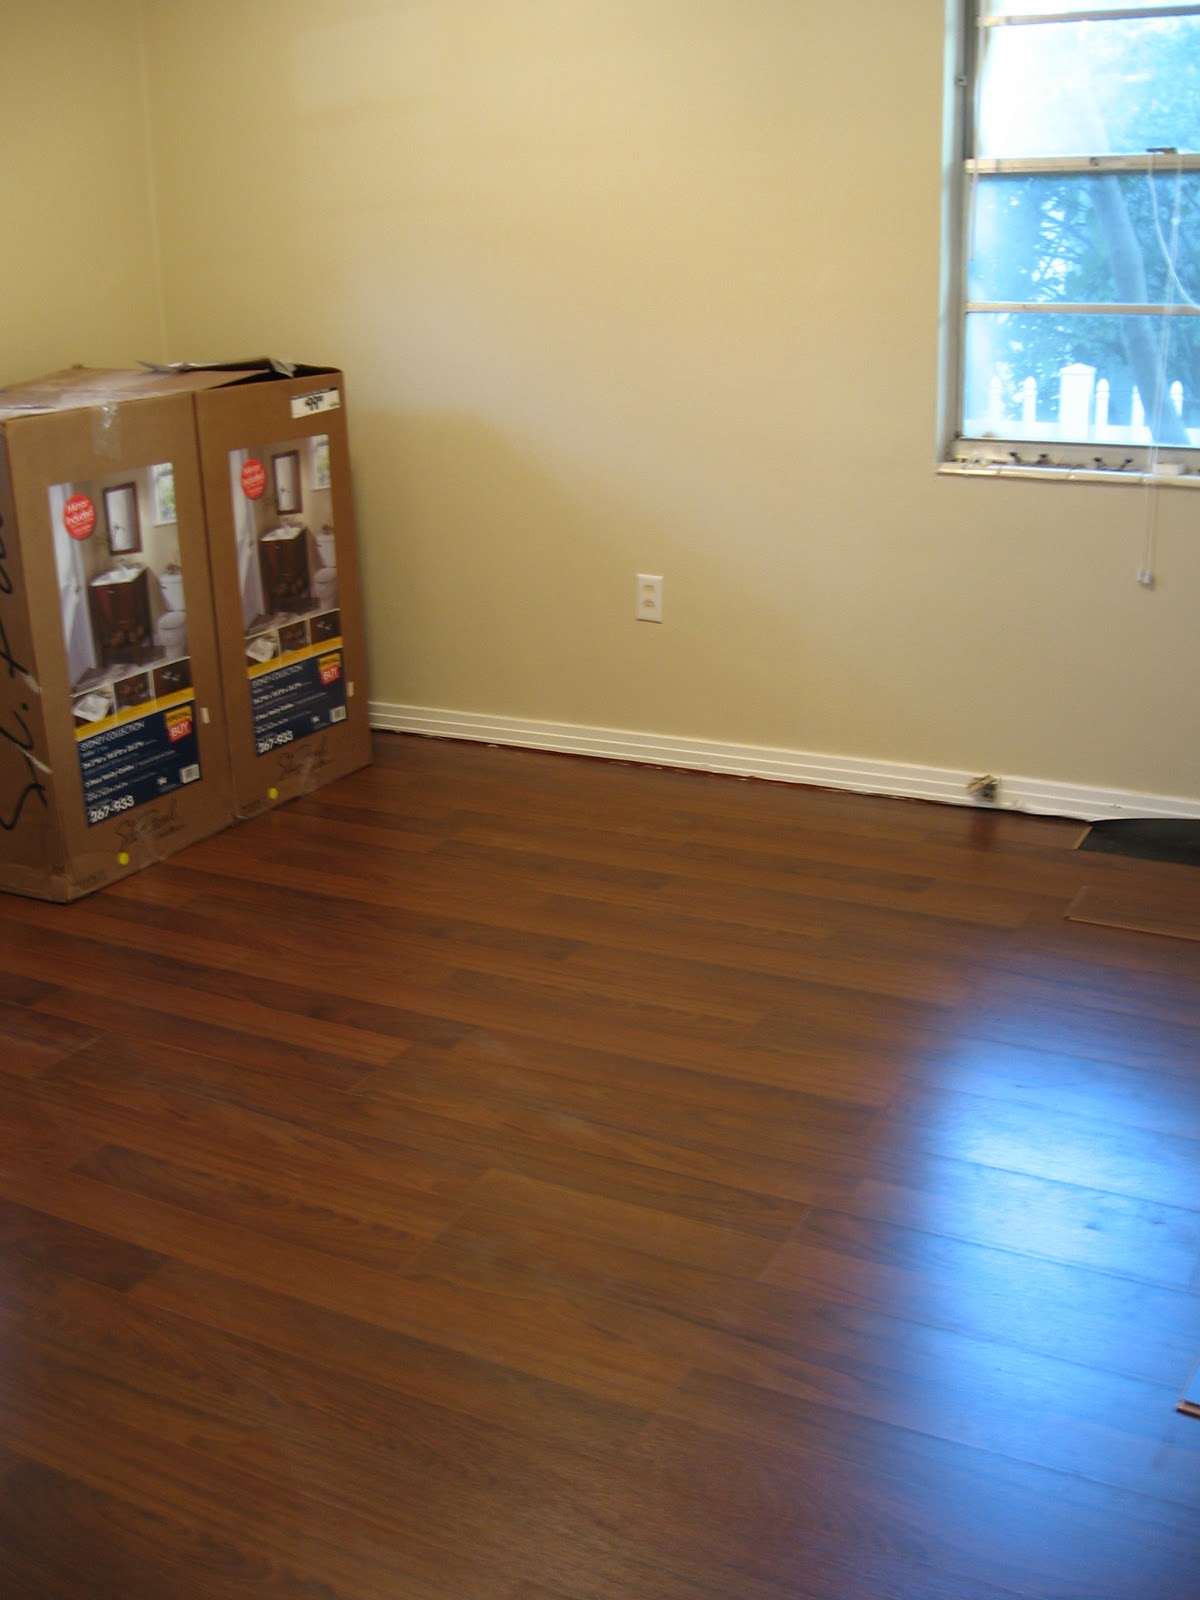
We began installing the wood floating floor in the bedrooms.  David had to saw off the bottom of the door frames so the new floor boards would fit underneath (instead of cutting the boards like a puzzle piece to fit against the door frames and moulding)


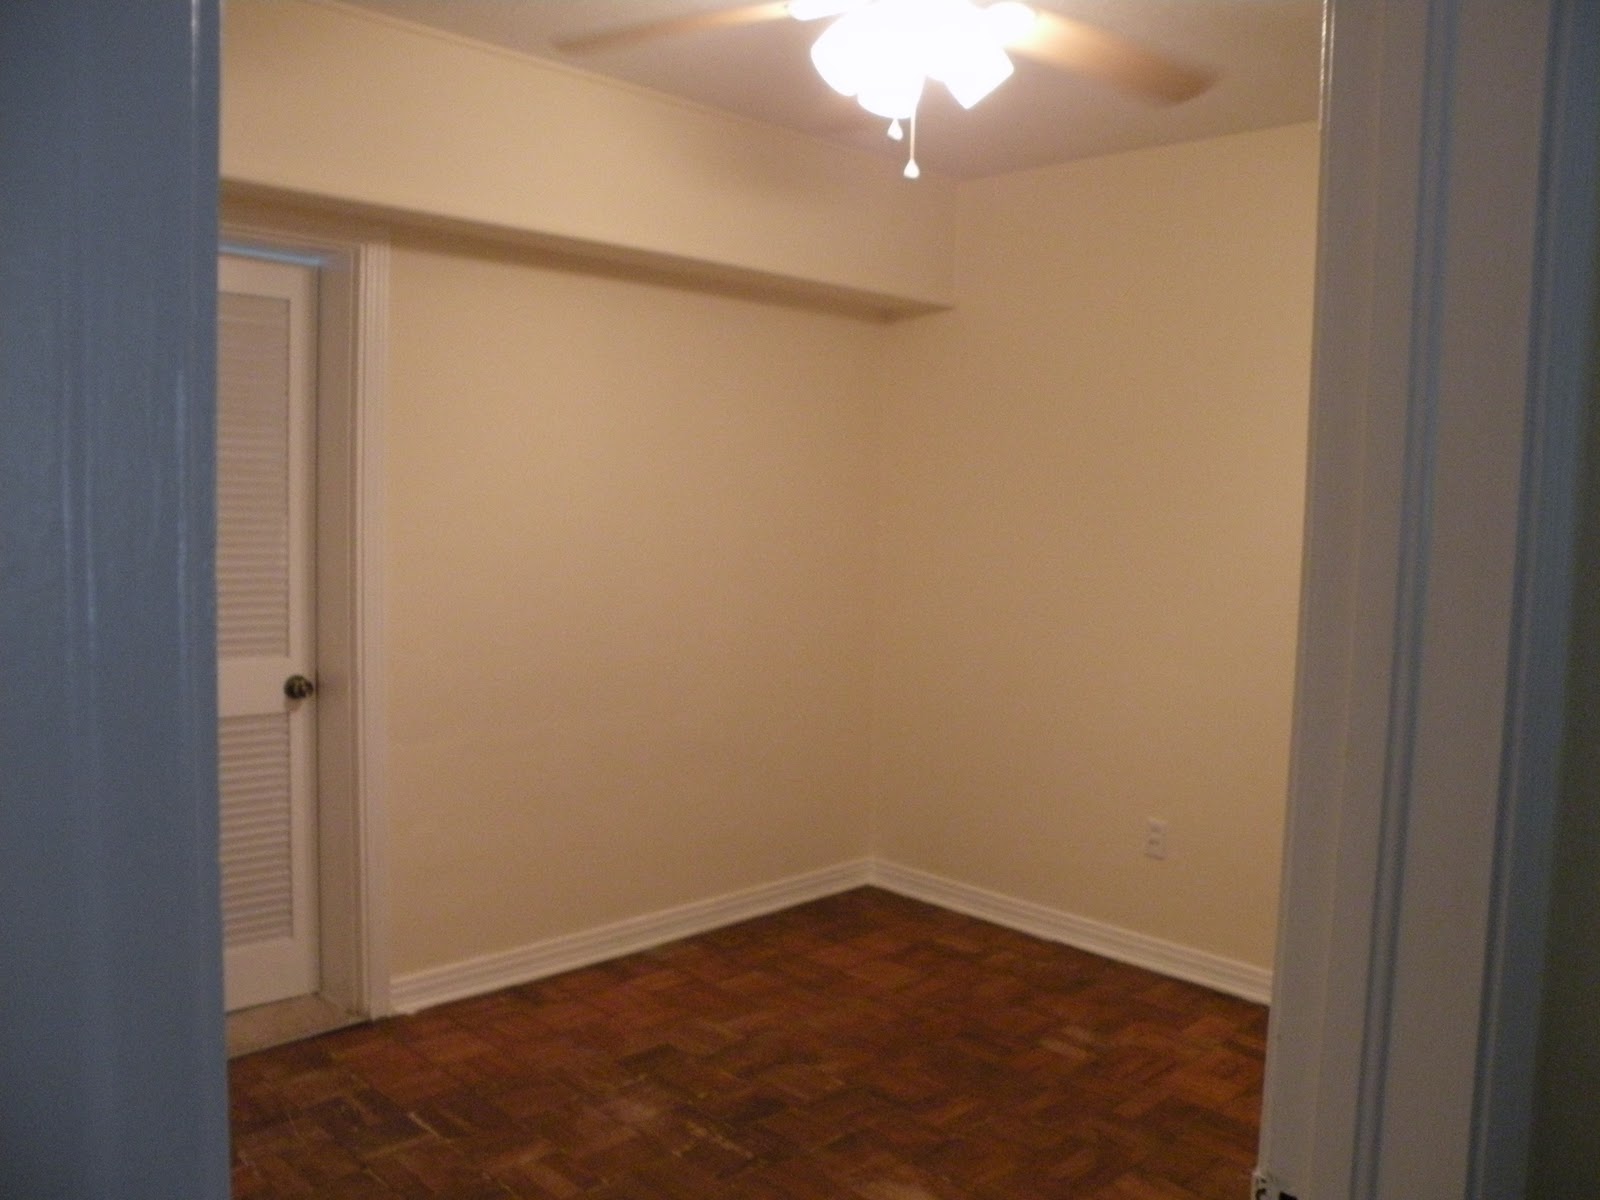
Here's a before and after the of floors - from 1955 parkay to new laminate wood floating floor:


We began installing the kitchen cabinets.  These cabinets are from Home Depot and are available in stock, pre-assembled!  They are in the same price range as IKEA's cabinets so if you're thinking of remodeling your kitchen and you like IKEA, check out Home Depot's selection (Lowe's also has a similar line).  This color is called Cognac.  A few times a year they also have a sale for 20% off in-stock cabinetry (which I happened to take advantage of) so I got an AWESOME deal!!!


Oh, and I almost forgot, we bought the appliances!!  We went to the Sears Appliance Outlet (N. Florida & Waters Ave) and got AMAZING deals!  Check these out!


(I got this Whirlpool dishwasher for $419, originally $750!  Stainless steel interior means it's anti-microbial and won't get smelly inside like other dishwashers!)


(Here's my NEW IN BOX ceramic cooktop oven/stove combo by Amana - a division of Whirlpool.  $519 - originally $799)

(And my stainless steel french door fridge with bottom freezer drawer and fingerprint resistant finish. Originally $1500 mine for $899!!)

(And I can't forget my Whirlpool Dual Eco Washer & Dryer.  Originally $750 mind for $900 for the pair!!)

Plus I saved an additional 5% off EVERYTHING by putting it on a new Sears card (which I plan to pay off in full immediately so it's pure extra savings for me)!!

Tomorrow we will finish the cabinets and continue with the flooring so check back for more pictures of the transformation!

Wednesday, October 19, 2011

The Kitchen Gets Painted!

Today we sanded the mudded walls after they dried overnight.  The smooth walls were then ready for paint.  I chose this seaglass color called Pale Vista (by Olympic at Lowes).  The kitchen is actually starting to look like a finished room now!


Here's a sneak peek at our backsplash tile, with tumbled travertine micro tiles and glass micro tiles in shades of seaglass, cafe, and chocolate.  It's a great compliment to the paint color.  I can't wait to get this up on the walls and see it all come together!!  Stay tuned...

Tuesday, October 18, 2011

Kitchen Tile Begins

The last two days we have been finishing the kitchen drywall with mud to prepare for painting.


We also began laying the tile.  I got this 17" ceramic tile for an amazing deal from the Floor & Decor Outlet in Brandon.  Only $.54/ square foot!!  The color is called Santos Bone.


Saturday, October 15, 2011

Week 2 of Renovations

We've owned the house for 2 weeks and here's what we have to show for it.

Today we had a successful garage sale and actually made a little bit of money!  Thank you to our previous homeowners who left us some interesting stuff to sell, including the surfboard, suitcases, bamboo blinds, dog kennel, standing lamp, and more! :)


We rented a power scraper to take up the linoleum tile floors.  Upon doing so, we found that the dining room had three layers of linoleum (the first being green and white checkered classroom-style flooring, with faux-pebble linoleum tiles layered on it, and topped with the current ivory and peach tiles.  It took some muscle, but we got it all out of there.


We took up the linoleum tile floors in the master bathroom, and removed the current white vanity in the process.


We painted the tile in the hall bath a neutral ivory color (thanks Aunt Marla for surprising us with your generous assistance!)  Such an improvement from the grey and pink tiles!


We then began closing up the walls in the kitchen since we passed our electrical inspection.


Tomorrow the tiling begins, so stay tuned!  You won't believe the beautiful tile and great deal we got!!

Thursday, October 13, 2011

Renovations - Week 2

This week we finished the electrical in the kitchen, and then spent the rest of the week attempting to please the very picky electrical inspecter.  Finally we are clear to move forward and finish the kitchen - YAY!  Stay tuned because next week you will see quite the transformation!!


Here's a sneak peek at the cabinets which will appear in the new kitchen!


The interior guest bedroom used to have a strange door leading into the wasted space of the bonus room.  We closed off the old door to enclose the room with a single entrance now.  We also added a skylight to bring more light into the room.


And the hall bathroom walls have been painted a rich gold color.  Tomorrow we will paint the tiles and the bathoom will nearly be complete.

Monday, October 10, 2011

More Renovations - Week 1 has passed...

Well we've owned the house for a week now and we've spent close to 8 hrs/day on site doing renovations.  To wrap up the week, we finished removing the last of the load-bearing walls to extend the master bedroom.


We also opened up the bathroom wall to prepare for the extended on-suite master bath.


We completed reglazing the tiles in the master shower.  We did this by priming the tiles with "gripper" primer, double coated, then painting over it with a semi-gloss exterior paint (so it would be waterproof.)  Not bad for appx $20!!  Goodbye teal - hello soft white.  This color is called White With Everything.


We also are having a new roof installed and some of the woodwork repaired.


More to come this week so stay tuned!!